How to Make a Robot With Ping Pong Balls: A Real STEM Project

Table of Contents
How to Make a Robot With Ping Pong Balls
This isn’t a table tennis training robot, the kind of machine that launches balls for practice. This is a genuine kids’ STEM craft project that uses ping pong balls as a building material, lightweight, cheap, and easy to work with, to build a simple motorized robot from scratch.
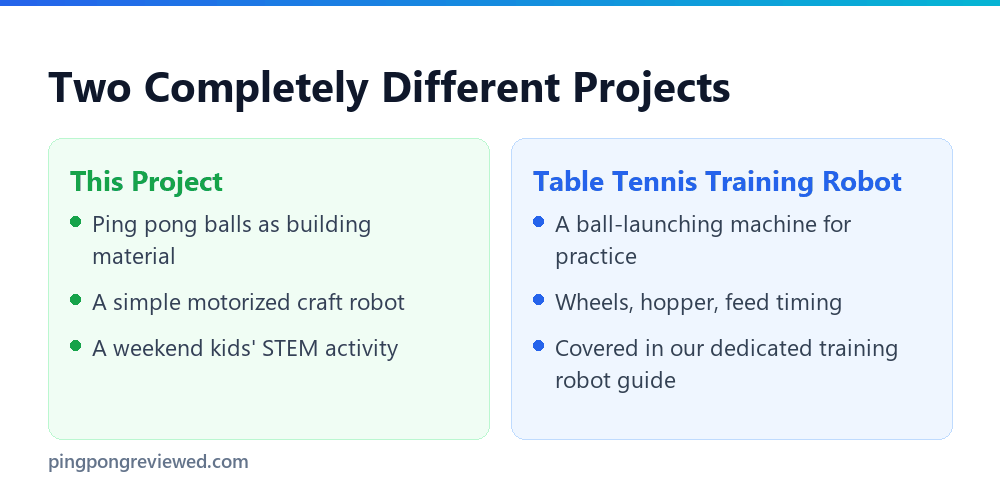
If you actually want to build a ball-launching practice robot, our dedicated table tennis training robot guide covers that project in full technical depth, wheel-based launching mechanisms, ball hoppers, feed timing, and realistic cost expectations. This page is a completely different, much simpler project.
Why Ping Pong Balls Work Well for This
Ping pong balls are lightweight, cheap, uniformly round, and easy to cut or drill without special tools, which makes them genuinely useful as a beginner-friendly craft material rather than just a novelty choice. They work well as improvised wheels, a rounded body shell, or decorative elements depending on the design you choose.
Their low weight is a real practical advantage for a first robot build specifically, small hobby motors struggle to move heavy loads, and a ping-pong-ball-based design keeps the whole assembly light enough for basic DC motors and a simple battery pack to actually move.
Materials and Tools
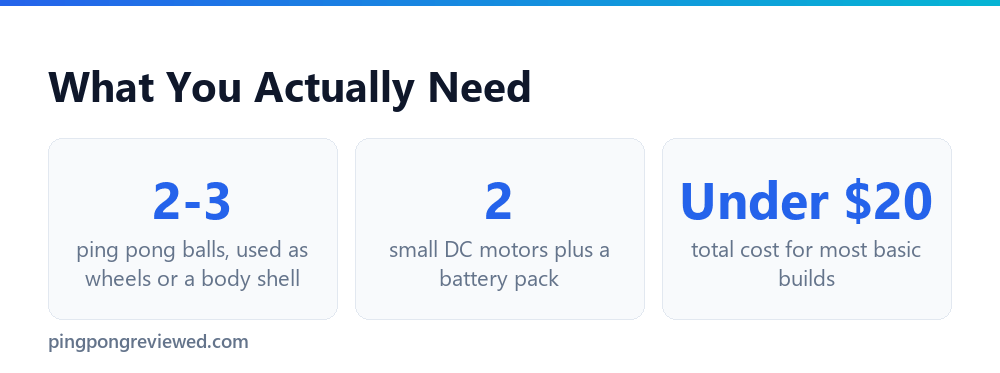
The core list is short and inexpensive: 2-3 ping pong balls, two small DC motors, a battery pack (2 AA batteries is typical), wires and connectors, a glue gun, scissors or a small craft knife, double-sided tape, and a marker for planning cut lines and positions before you commit to anything permanent.
Most of this is available at a craft store or already sitting in a junk drawer, this project is deliberately built around common, cheap materials rather than anything specialized. Total cost for a first build typically comes in well under $20.
Building It, Step by Step

Start with a simple design on paper before cutting anything, deciding how many balls you’ll use and whether they’re serving as wheels, a body shell, or both. A basic two-wheel design (one ball cut in half for each wheel, motor mounted through the center) is the most beginner-friendly starting point.
Cutting a ping pong ball cleanly takes a little care. Score a line around the ball with a craft knife first rather than trying to cut through in one pass, the thin plastic shell can crack unpredictably if you apply too much pressure at once. A pair of sharp scissors works for finishing the cut once the score line gives you a guide to follow.
Assemble the body first, then attach the wheels, then wire the motors to the battery pack last. Wiring last matters, it’s much easier to test fit and adjust the mechanical assembly before adding live electrical connections that need to stay protected during handling.
Mounting the motor through the center of a half-ball wheel is the trickiest mechanical step. Drill or carefully cut a small hole sized to your motor’s shaft diameter, then secure it with a drop of hot glue around the joint rather than trying to force a tight friction fit, which risks cracking the ball’s thin shell.
Test in short bursts before a full run. Confirm the motors spin the right direction and the wheels grip a flat surface before letting the robot loose, small wiring mistakes are far easier to fix at this stage than after everything is glued into its final position.
If the robot pulls to one side instead of driving straight, check that both motors are actually spinning at the same speed and in the same relative direction first, that’s the most common cause and usually a wiring fix rather than anything wrong with the mechanical build itself.
Two Design Directions to Choose Between
The two-wheel design, halved balls mounted directly on motor shafts, is the more mechanically straightforward option and the one most first-time builders should start with. It drives reliably on any flat, smooth surface and the wheel-motor connection is simple to troubleshoot if something isn’t working.
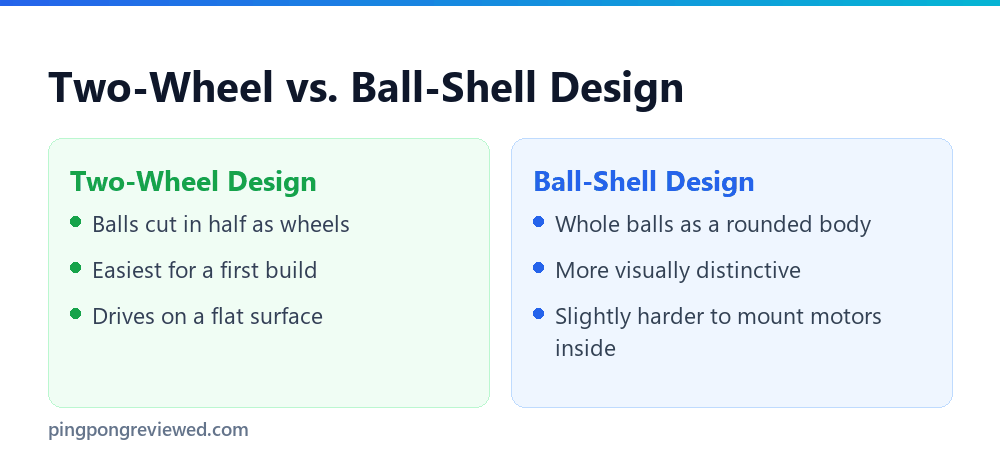
The ball-shell design, where whole or mostly-whole balls form the robot’s rounded body rather than its wheels, is more visually distinctive and often more appealing to younger builders who want something that looks more like a character than a simple cart. It’s a bit trickier mechanically since you need to mount the motors and wheels inside or underneath the shell rather than directly on visible axles, but it’s still very achievable with the same basic tool set.
Neither design is objectively better, they suit different goals. If the point of the project is teaching basic mechanics as directly as possible, go with the two-wheel design. If the goal is a more creative, personality-driven build that a kid will want to show off, the ball-shell approach usually wins out despite the slightly higher difficulty.
Decorating and Extending the Build
Once the basic robot moves reliably, decorating it is where the project becomes genuinely fun for kids specifically, paint, markers, googly eyes, and craft accessories all work well on the smooth ping pong ball surface. Acrylic paint adheres better than most other paint types to the ball’s plastic shell.
For anyone who wants to extend the project beyond a basic two-wheel design, adding a simple switch to control on/off separately from the battery connection, or building a small chassis platform to mount the balls and motors on, are natural next steps that build on the same core skills without requiring an entirely new project.
A cardboard or foam-board base underneath the motors and balls gives the whole build more structural stability than trying to glue everything directly to the balls themselves, and it’s an easy surface to decorate separately from the rounded ball components. This small addition also makes the electronics easier to access later if you want to swap batteries or adjust wiring after the initial build is finished.
Common Problems and How to Fix Them
A robot that doesn’t move at all almost always traces back to the battery connection rather than the motors themselves, check that the battery pack’s polarity matches what the motor expects and that every connector is actually making contact rather than just resting near the right spot.
A wheel that spins freely without actually driving the robot forward usually means the connection between the motor shaft and the ball-wheel has slipped. A friction-only fit tends to loosen with vibration over time, a small dab of hot glue at the joint (applied after confirming the wheel spins correctly, not before) usually solves this permanently.
If the whole assembly feels wobbly or fragile, the most common cause is skipping the design-on-paper step and improvising the layout as you build. Going back and sketching the intended structure, then rebuilding the weak section to match, is usually faster than trying to reinforce a design that was never planned properly in the first place.
Don’t be discouraged if the first attempt doesn’t work perfectly, even experienced builders rarely get a from-scratch design working on the very first try. Troubleshooting and rebuilding sections is a normal, expected part of the process rather than a sign the project has gone wrong.
What materials do I need to make a ping pong ball robot?
2-3 ping pong balls, two small DC motors, a battery pack, wires and connectors, a glue gun, scissors or a craft knife, double-sided tape, and a marker for planning, most available at a craft store for under $20 total.
How do I assemble the robot?
Design first, build the body, attach the ping-pong-ball wheels or shell, then wire the motors to the battery pack last, testing in short bursts before a full run.
Can kids make a ping pong ball robot?
Yes, this is specifically designed as a kid-friendly STEM project. Adult supervision is recommended for the glue gun and any cutting steps, but the overall build is approachable for a beginner.
How long does it take to build?
A basic build typically takes an afternoon, roughly a couple hours for planning and assembly plus drying time for glue, making it a reasonable single-session weekend project overall.
Why does my robot pull to one side instead of driving straight?
Almost always a motor wiring issue rather than a mechanical one, check that both motors spin at the same speed and in the correct relative direction before assuming something is mechanically wrong with the wheels, the body, or the overall balance of the build.
What’s the easiest way to cut a ping pong ball cleanly?
Score a line around the ball with a craft knife first, then finish the cut with scissors following that score line. Cutting straight through in one pass risks an unpredictable crack in the thin plastic shell.
Do I need programming skills for this project?
No, this is a basic motorized craft robot, not a programmable one. Connecting a battery to two motors through a simple switch is electrical wiring, not coding, which makes this project accessible well before a kid is ready for actual robotics programming or microcontroller-based builds.
What size motors work best for this build?
Small hobby DC motors sized for lightweight craft projects, the kind commonly sold in beginner electronics or STEM kits. Larger motors meant for heavier robots will be overkill and harder to mount inside or through a ping pong ball cleanly, and they’ll also drain the small battery pack this build uses much faster than intended.

Ping Pong Reviewed is an equipment review site covering table tennis and baseball gear. Specifications are checked against manufacturer listings, and prices against live retail pages, before publication.