
How to Make a Homemade Ping Pong Robot: The Budget Build
Table of Contents
How to Make a Homemade Ping Pong Robot on a Budget
We already publish a full, technical guide to building a ping pong training robot on this site, covering the wheel-based launching mechanism, ball hopper design, feed timing, microcontroller programming, oscillation for ball placement, and spin control in real depth. This page is a genuinely different, deliberately simpler take on the same core idea.
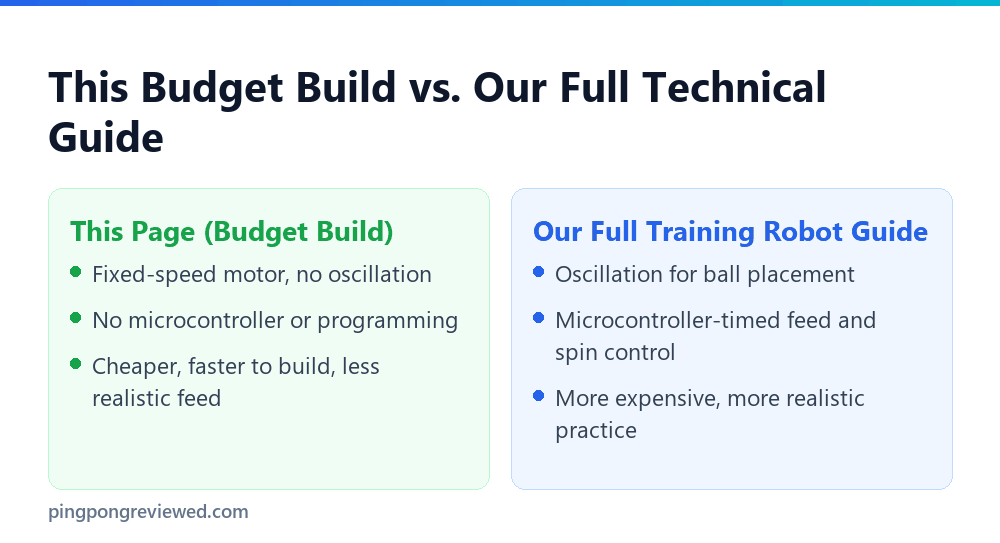
If you want the full-featured version with realistic, varied ball placement and programmable control, read that guide instead. This page is for a reader who wants a working ball feeder built this weekend, cheaply, without sourcing a microcontroller or writing any code, and is fine trading away some realism for that simplicity.
What This Simplified Version Skips
The biggest simplification is dropping oscillation entirely. Our full guide covers building a mechanism that sweeps the launch point side to side so balls land at varying positions on the table, real training value, but real added mechanical and electronic complexity. This budget version fires from a single fixed position instead, which is far easier to build but gives you a much more repetitive, less realistic feed.
The second big simplification is skipping the microcontroller. A programmable feed timing lets you control exactly how fast balls launch and add variation, but it requires basic electronics and coding knowledge. This version uses a simple fixed-speed motor instead, wired directly to a battery through a basic switch, no programming involved at all.
Spin control is the third thing this version doesn’t attempt. Adding controllable spin requires a second motor and more precise mechanical tuning than a basic build justifies. This robot feeds balls with whatever spin comes naturally from the launch wheels’ fixed speed, not zero spin, but not adjustable spin either.
Materials for the Budget Build
Two small DC motors for the launch wheels, a battery pack, a basic on/off switch, wire and connectors, a simple hopper (a plastic container with a hole cut for balls to feed through works fine), and a frame to hold everything together, wood, heavy cardboard, or a simple 3D-printed bracket all work.
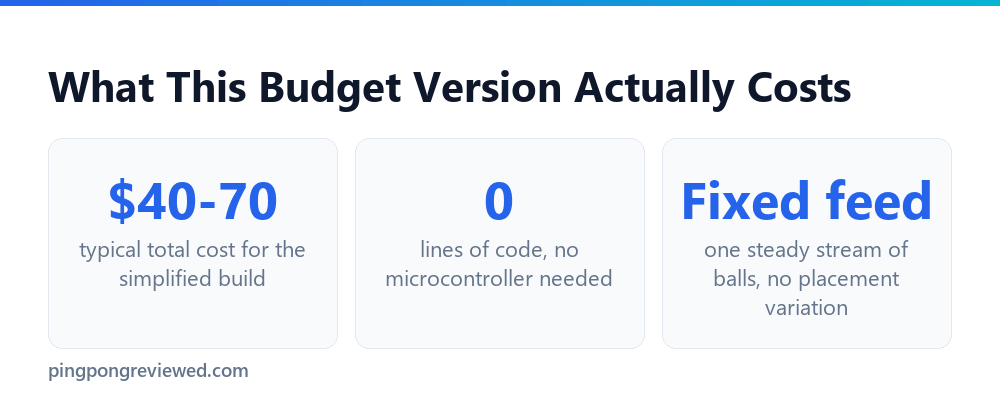
This is deliberately a shorter, cheaper list than our full guide’s materials section, no microcontroller board, no oscillation servo, no spin-control motor. Total cost for a basic version typically lands in the $40-70 range depending on what you already have on hand.
Building It, Step by Step
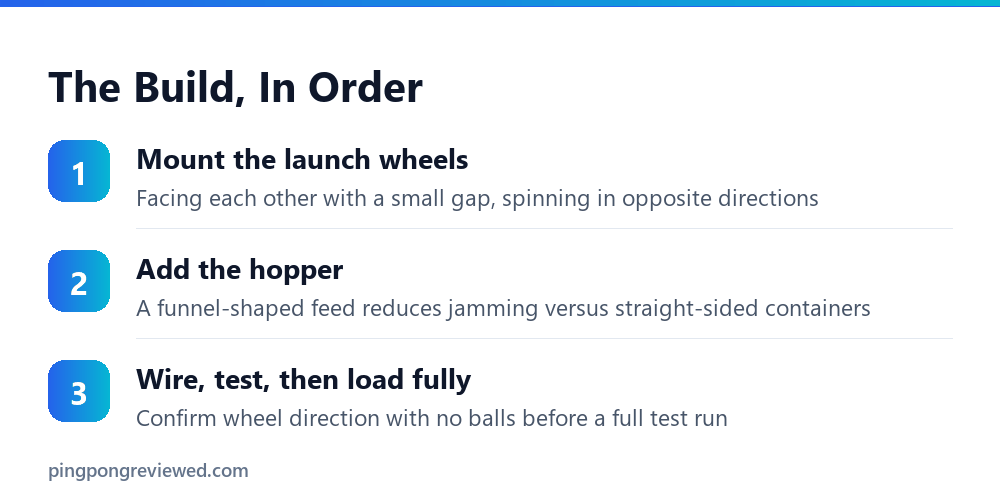
Mount the two launch wheels facing each other with a small gap between them, close enough that a ball passing through gets gripped and launched by both wheels spinning in opposite directions. This is the same core launch principle our full guide uses, just without the oscillating mount.
Getting the wheel gap right takes a bit of trial and error, too wide and the ball won’t make consistent contact with both wheels, too narrow and it won’t feed through smoothly at all. Start with a gap slightly narrower than the ball’s 40mm diameter and widen it gradually if balls aren’t launching cleanly.
Build or repurpose a simple hopper above the wheels that feeds balls into the gap by gravity. A funnel shape works better than a straight-sided container, it reduces the chance of balls jamming as they queue up to feed through.
A plastic funnel from a hardware store, or a cut-down plastic bottle, works fine for this and costs almost nothing. The key requirement is a smooth internal taper with no sharp internal edges that could catch and jam a ball queuing up above the wheels.
Wire both motors to the battery pack through your switch, testing that both wheels spin in the correct opposing directions before loading any balls. Getting this wrong is the most common build mistake, and it’s much easier to fix before the hopper is loaded and balls are flying.
Both wheels need to spin toward each other at the point of contact, not away from each other or in the same direction, for the gripping-and-launching action to work. If your first test shows balls not launching correctly, this wiring direction is the first thing to check before assuming a mechanical problem.
Test with a small number of balls first rather than filling the hopper completely. This lets you confirm consistent launches and catch any jamming issues in the feed path before committing to a full loading and a longer test run.
Upgrading Later Without Starting Over
If this budget version works well and you decide you want more realistic training value later, most of this build carries over directly. The launch wheel mechanism is the same core principle our full guide uses, you’re primarily adding oscillation, a microcontroller for programmable timing, and optionally spin control on top of what you’ve already built rather than starting from scratch.
That makes this budget version a reasonable low-risk way to confirm the core concept works for you and your space before investing in the more expensive, more complex full build our dedicated guide covers.
Practically, this means building this version with future upgrades in mind is worth a small amount of extra planning upfront. Mount your launch wheel assembly on a sub-platform that could later sit on an oscillating base, rather than bolting it permanently to a fixed frame, and you’ll save yourself a partial rebuild if you do decide to upgrade down the road.
Setting Realistic Expectations for This Build
A fixed-position, fixed-speed feeder is genuinely useful for basic stroke repetition and reaction practice, hitting the same shot repeatedly to groove a stroke, or simply getting more reps against a moving ball than a practice partner’s patience usually allows. It is not a substitute for the varied, realistic feed a human opponent or the full oscillating build provides.
Don’t expect this version to meaningfully improve your ability to read varied incoming placement, since it doesn’t produce any. What it’s genuinely good for is high-volume repetition of a single shot, which has real training value on its own, just a narrower kind of value than a full training robot delivers.
Many players find a fixed-feed robot like this most useful early in a session, warming up a specific stroke before switching to live rallying with a partner, rather than as a complete replacement for practicing against varied, unpredictable shots the way a real opponent provides.
Keeping the Budget Build Running
The launch wheels are the part most likely to need attention over time, dust and grip-compound wear gradually reduce launch consistency the same way rubber tack wears on a paddle. If shots start feeling weaker or less consistent than when the build was new, wiping the wheel surfaces down is usually the first thing to try before assuming a motor or wiring problem.
Check the hopper for ball jams periodically, especially if you’re using a repurposed container rather than a purpose-built funnel, sharp internal seams or edges that seemed fine initially can develop into consistent jam points as plastic wears or deforms slightly with use.
Battery life is the other practical maintenance item, a fixed-speed motor setup will noticeably slow down as batteries drain, which changes launch power and can throw off any practice routine relying on consistent speed. Rechargeable batteries are worth the upfront cost if you’ll be using this regularly, both for cost savings and for more consistent power across a full charge cycle compared to disposable batteries losing voltage gradually.
How is this different from your full training robot guide?
This version skips oscillation, microcontroller programming, and spin control to keep the build cheap and simple overall, a fixed-position, fixed-speed ball feeder rather than a fully programmable training machine with fully adjustable, motorized settings.
How much does this budget build cost?
Typically $40-70 for a basic version, significantly less than the full technical build since it skips the microcontroller and extra motors that add both cost and complexity.
Can I upgrade this later to add oscillation or programming?
Yes, the core launch wheel mechanism carries over directly, you’d be adding components on top of this build rather than replacing it, following our full training robot guide for those additions.
Is this budget version good enough for real practice?
It works for basic reaction and stroke practice against a steady feed, but the fixed position and lack of placement variation make it less realistic than actual varied play or the full oscillating build.
What’s the most common mistake building this budget version?
Wiring the two launch wheels to spin in the wrong relative direction, they need to spin toward each other at the contact point to grip and launch the ball, not away from each other or in the same direction, which is easy to get backwards on a first attempt.
Can I add spin control to this build later?
Yes, though it requires adding a second independently-controlled motor and more precise mechanical tuning than this basic build uses, our full training robot guide covers that addition in detail.
How long does the battery last on this build?
It depends heavily on battery capacity and how often you run the robot, but expect noticeably reduced launch speed well before batteries are fully drained, motor performance on a fixed-speed setup degrades gradually as voltage drops rather than cutting off suddenly and without warning.
Do I need any special skills to build this?
Basic wiring (connecting a motor to a battery through a switch) and simple assembly with a glue gun or basic fasteners, no soldering, programming, or specialized tools required for the core build, making it approachable for a genuine first-time builder.

Ping Pong Reviewed is an equipment review site covering table tennis and baseball gear. Specifications are checked against manufacturer listings, and prices against live retail pages, before publication.