Table Tennis Surface Coating: A Real Refinishing Guide (2026)
Table tennis surface coating comes down to two practical questions: how to tell when a table actually needs recoating, and how to do it without ruining the bounce. Most of what is written on this topic describes how coatings are manufactured, which is interesting and completely useless if you are standing in front of a tired table wondering whether to refinish it. This guide covers the diagnosis and the process.
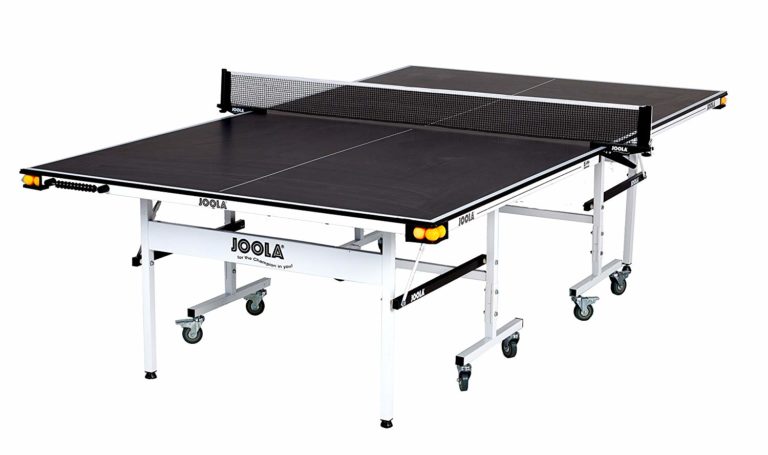
This mostly matters for two situations: a table you already own that’s showing real wear after years of use, and a secondhand table you’re considering buying that clearly needs work before it’s playable at a consistent standard. Both are genuinely worth fixing rather than replacing in a lot of cases, since a full recoat costs a fraction of a new table and can bring a structurally sound but cosmetically worn table back to a genuinely usable playing surface.
Table of Contents
What Surface Coating Actually Means
Surface coating just means the paint or finish layer on a table’s playing surface, the same layer that gives new tables their consistent color, subtle texture, and matte-to-satin sheen. That coating isn’t decorative in a purely cosmetic sense: it’s what gives the ball a consistent, predictable bounce. A worn, chipped, or overly glossy surface changes how the ball responds in small but real ways that affect play, particularly noticeable to anyone playing regularly enough to have a feel for normal bounce.
It’s worth distinguishing surface coating from the tabletop material itself, since the two get confused often. The coating is a relatively thin applied layer; the underlying material, MDF, particleboard, or aluminum composite depending on the table, is what actually determines the table’s structural durability and weather resistance. Recoating refreshes the surface layer without changing what the table is fundamentally made of underneath, which is exactly why it can’t fix a structural problem, only a surface one.
Signs Your Table Actually Needs Recoating
- Visible peeling or chipping — the clearest sign, especially anywhere the ball contacts repeatedly.
- Dead spots — areas where the ball noticeably bounces lower or less predictably than the rest of the surface.
- Faded or worn line markings — the center line and boundary lines wear from repeated ball contact and hand placement during serves.
- Changed sheen — a surface gone patchy between glossy and dull across different areas usually means uneven wear, not just dirt.
Test dead spots specifically before assuming a full recoat is necessary rather than just a touch-up. Drop a ball from a consistent height at several points across the table and compare the bounce height by eye. A single small dead spot might only need localized sanding and patching, while bounce inconsistency across large sections of the table is a stronger signal that the whole surface needs a fresh coat rather than a spot fix.
What to Actually Coat It With
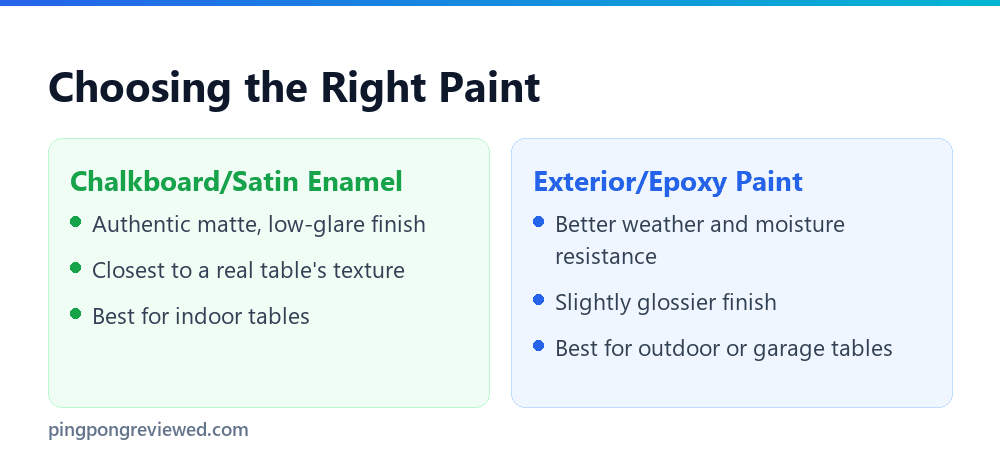
Chalkboard paint or a satin/matte enamel is the most commonly recommended choice for indoor tables specifically because it reproduces the low-glare, slightly textured finish real tables use, which matters for how predictably the ball bounces and how visible it stays under indoor lighting. For outdoor or garage tables exposed to humidity and temperature swings, a genuine exterior-rated or epoxy paint holds up meaningfully better over time, at the cost of a slightly glossier finish than chalkboard paint gives.
Whichever you choose, avoid high-gloss interior paint specifically — it looks fine freshly applied but creates glare under overhead lighting and a noticeably livelier, less predictable bounce than the matte finish real tables use.
Color is worth a brief practical note too: dark green and dark blue are the two most common table colors for a reason, both provide strong contrast against a standard white or orange ball under typical indoor lighting. Straying too far from either, a very light color especially, can make the ball harder to track visually during fast rallies, which is worth weighing against pure aesthetic preference if you’re repainting a table you actually plan to play on regularly rather than one being refinished purely for a decorative look.
Step-by-Step Refinishing Process
Step 1: Clean Thoroughly
Remove dust and debris with a soft brush or vacuum, then wipe the full surface down with a mild detergent solution. Any residue left behind will show through the new coat as an uneven patch.
Step 2: Sand the Surface
Sand the entire top with medium-grit sandpaper, roughly 120 to 150 grit, in a consistent direction rather than random circles, which helps the new paint bond evenly rather than catching unevenly on cross-hatched scratch marks. Wipe away all sanding dust before moving to the next step.
Step 3: Prime
Apply a quality primer suited to your base material, MDF and particleboard both benefit from a sealing primer coat specifically, since they absorb paint unevenly without one. Let it cure fully per the product’s instructions before painting.
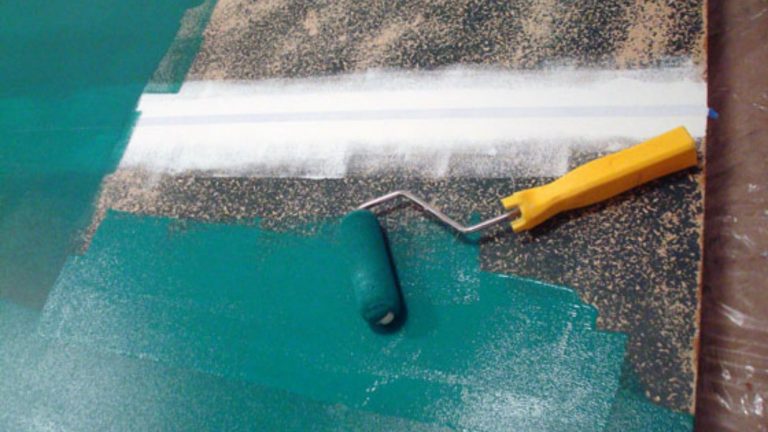
Step 4: Apply the Coating
Apply your chosen paint in thin, even coats rather than one thick one, letting each coat dry completely before adding the next. Two to three thin coats generally give better, more even coverage than one heavy coat, which is more prone to drips and uneven texture.
Step 5: Repaint the Lines
Once the base coat has fully cured, mask off the center line and boundary lines with painter’s tape and apply white paint specifically formulated for durability against ball contact and hand placement during serves, since these lines wear faster than the rest of the surface. Remove the tape while the line paint is still slightly tacky rather than fully dry, which gives a cleaner edge than peeling tape off completely cured paint.
Step 6: Cure Fully Before Play
Give the finished surface longer to cure than the paint can’s stated dry time suggests before actual play — “dry to the touch” and “fully cured and ready for ball impact and net clamp pressure” are genuinely different states. A week of cure time in a well-ventilated space is a reasonable default for most paints, though check your specific product’s full cure guidance rather than assuming a week is universally correct.
When Recoating Isn’t the Right Fix
Recoating solves a cosmetic and bounce-consistency problem, not a structural one. If your table has genuine warping, delamination where layers of the top are separating, or a cracked or bowed surface, a new coat of paint won’t fix any of that, and you’re better off checking our full best ping pong table guide for a replacement rather than investing time and materials into a table with a structural problem underneath the surface.
Cost is worth weighing directly here too. Materials for a full recoat, sandpaper, primer, paint, tape, generally run well under $100 for most tables, a real fraction of even a budget replacement table’s price. That math changes fast if the table also needs structural repair, at which point you’re spending on materials plus labor or time for a fix that still leaves you with an older table’s other limitations, weight, folding mechanism wear, leg stability, rather than getting the full benefit of starting fresh with a new one.
Where This Guidance Comes From
The materials and steps described here were cross-checked against multiple independent DIY refinishing guides rather than taken from any single source, because recoating advice varies considerably and some of it will genuinely damage a table. Where guides disagreed, we have said so in the relevant section rather than picking one and presenting it as settled.
Frequently Asked Questions
Can a ping pong table actually be painted?
Yes — this is a common, genuinely effective way to refresh a worn table’s playing surface, as long as the underlying structure is still genuinely sound.
What kind of paint do you use on a ping pong table?
Chalkboard paint or a satin/matte enamel for indoor tables, which reproduces the low-glare finish real tables use. Exterior-rated or epoxy paint for outdoor or garage tables that face moisture and temperature swings.
What are ping pong tables actually coated with at the factory?
Manufacturers typically use a low-gloss enamel or specialized sports-surface coating engineered for consistent bounce and durability, applied during manufacturing rather than as a retrofit.
How do you fix a peeling ping pong table?
Sand down the peeling area and surrounding surface, clean thoroughly, prime, and repaint following the full process above rather than just touching up the peeling spot alone, which usually creates a visible patch.
Is coating the only way to extend a table’s life?
No — a good table cover, careful storage away from moisture and direct sun, and prompt cleanup of spills all extend a surface’s life without needing to repaint. Recoating is the fix once wear has already happened, not the only preventive option.
How long does a repainted table’s coating actually last?
It depends heavily on paint quality, how many coats were applied, and how much play the table sees, but a properly primed and multi-coat paint job on an indoor table can reasonably last several years of regular use before showing meaningful wear again.
Can I use a roller instead of a spray can for painting?
Yes, a foam roller works well for the base coat and often gives more even coverage than a spray can for a large flat surface, though a spray can is easier to control precisely for the boundary lines specifically.
As an Amazon Associate, we earn from qualifying purchases through links on this page.

Ping Pong Reviewed is an equipment review site covering table tennis and baseball gear. Specifications are checked against manufacturer listings, and prices against live retail pages, before publication.